I was asked recently to create a card for our church's staff appreciation. The only direction I received from my Sunday School classmates was "make it big!" So, I gave my imagination a little workout and decided to create a 12" x 12" card. Not knowing precisely what it might look like, I made the trip over to Michael's to see what might strike my fancy.
Within about five minutes of entering the store, I knew precisely what I wanted to do. I found a beautiful, decorative designer paper for the base of the card - and then chose a lovely die cut paper upon which to print a verse of scripture. I purchased a piece of 12" x 12" chipboard to mount the card on, and purchased a couple of sheets of plain cardstock for signatures on the back. When I got home, I dusted off a display easel that I've had for many years.
Here's what my completed card looks like:

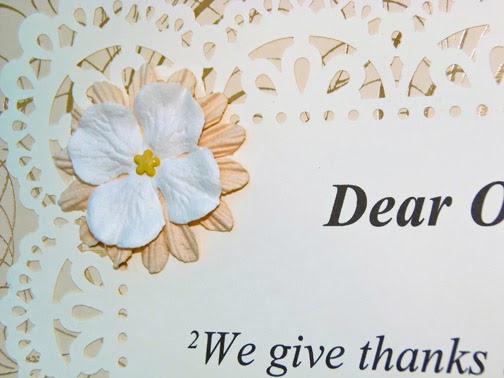

Now, after telling a dear friend what I was doing, she suggested I talk about printing on the die cut paper. It looks very delicate - and in fact it is a bit. It's cardstock weight, but still, the odd shape and cut-outs presented a challenge not to tear or jam in my printer. So, I pulled out my Scrapbook Adhesives brand repositionable E-Z Dots and rolled the tape onto the back edges of the die cut. I then mounted it on a solid sheet of 12" x 12" paper, and put it in the printer. The "carrier" sheet did precisely what I wanted; it provided a standard piece of paper to go through the printer rollers. The die cut stayed affixed to the carrier sheet and the verse printed beautifully on the intricate paper. Then I simply unmounted the die cut sheet and re-mounted it on my background paper. Easy! No tears; no smudges; no problem.
Here's a little video on how to print the verse on the die cut paper:
So, that's my tip for today. I hope you give this a try the next time you want to print on a piece of intricate die cut paper.
Thanks for stopping by. I hope you'll come again soon. May God bless!
No comments:
Post a Comment